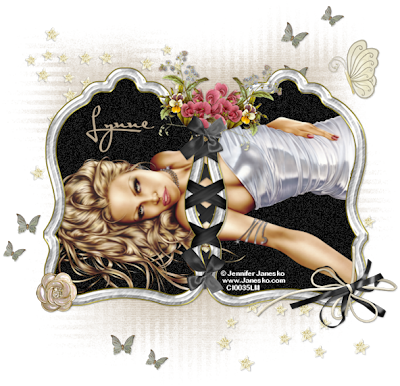
This tutorial was written on 21st July 2009
Any simularity to another tutorial is purely coincidental
I am using PTU scrapkit by Lynne aka Babycakes scrap kit is called Marissa (tagger size) which can be Purchased HERE
Tubes of choice i am using Jennifer Janesko under license number CI0035LM you can purchase there tubes from CILM
Font of choice
Mask of choice
Let's Get Started
Open your supplies and minimise
Open a new raster layer 700 x 700 and floodfill with white
Open a paper of Choice copy and paste as a new Layer,Layer New Mask Layer, from image find your mask in the dropdown section and apply making sure invert mask data is unchecked,onto mask layer hit delete and merge group
Open Double Frame copy and paste as a new layer resize by 70% grab your magic wand select inside both parts of the frame holding down your shift key select modify by 5 then select invert Open a paper of choice paste below the frame hit delete select none add/remove noise setting uniform 45 monochrome checked Add a dropshadow 1,1,30,3,Black
Open Tube of choice copy and paste as a new layer position below the frame layer grab your eraser tool erase any parts outside the frame Add a dropshadow 1,1,30,3,Black
Open Scatter copy and paste as a new layer resize by 80% then position below the frame Add a dropshadow 1,1,30,3,Black
Next Open Stars copy and paste as a new layer, position bottom right hand side below the frame duplicate then image mirror image flip Add a dropshadow 1,1,30,3,Black
Open Ties 2 copy and paste as a new layer resize by 40% then image mirror position on the bottom right hand side of the frame Add a dropshadow 1,1,30,3,Black
Open Flower 2 copy and paste as a new layer resize by 20% then position on the Bottom left hand side of the frame Add a dropshadow 1,1,30,3,Black
Open Butterfly 4 copy and paste as a new layer resize by 50% then again by 30% image mirror position top right hand side of the frame see my tag Add a dropshadow 1,1,30,3,Black
Add your copyright information and your name
crop your tag resize by 80%
save your file as a png file
you are finished
I hope you enjoyed this tutorial


No comments:
Post a Comment